Removable Rabbit Fence and Seating Area

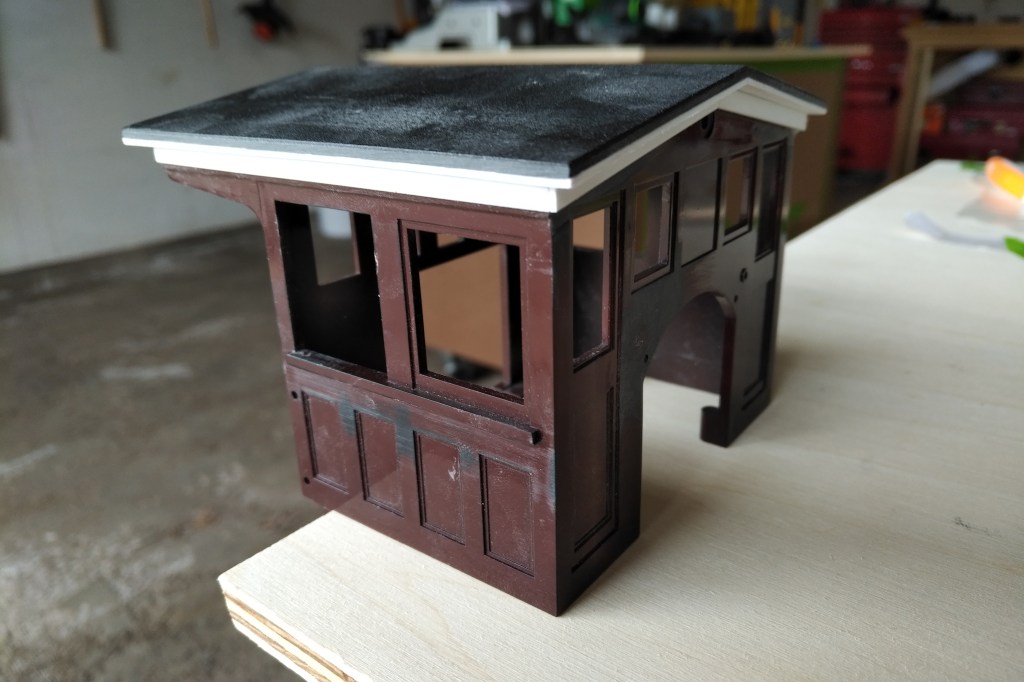
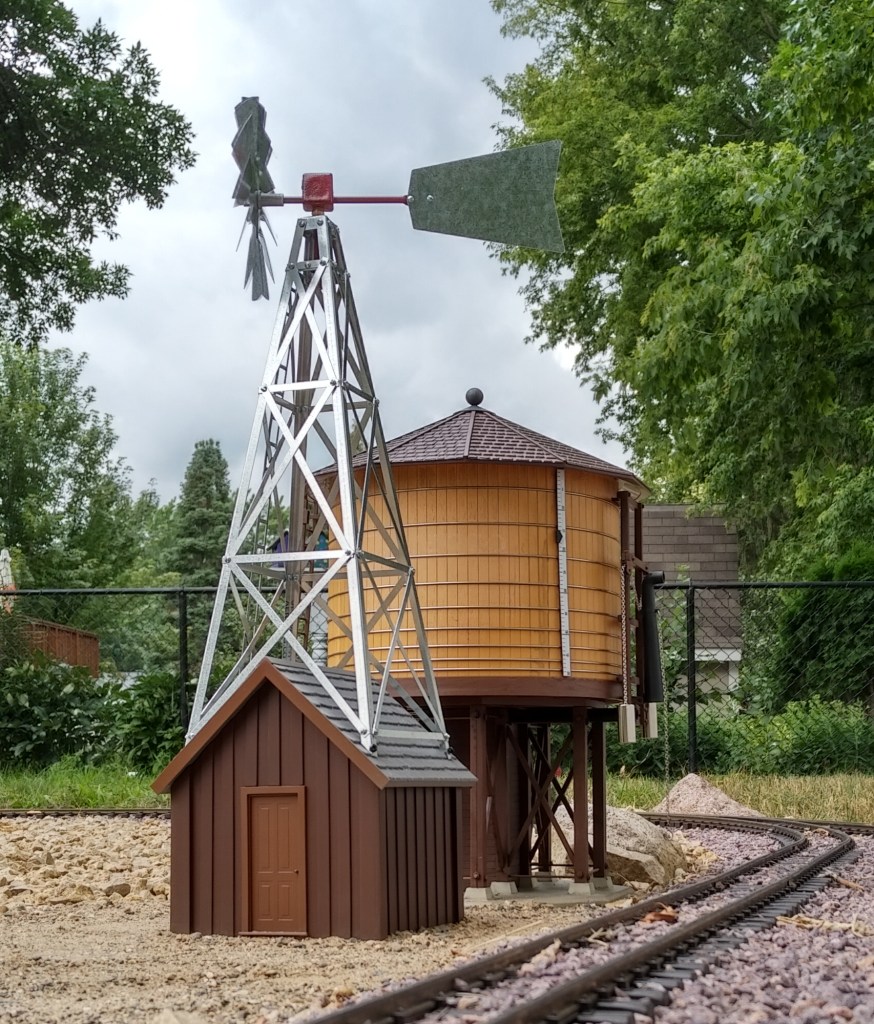
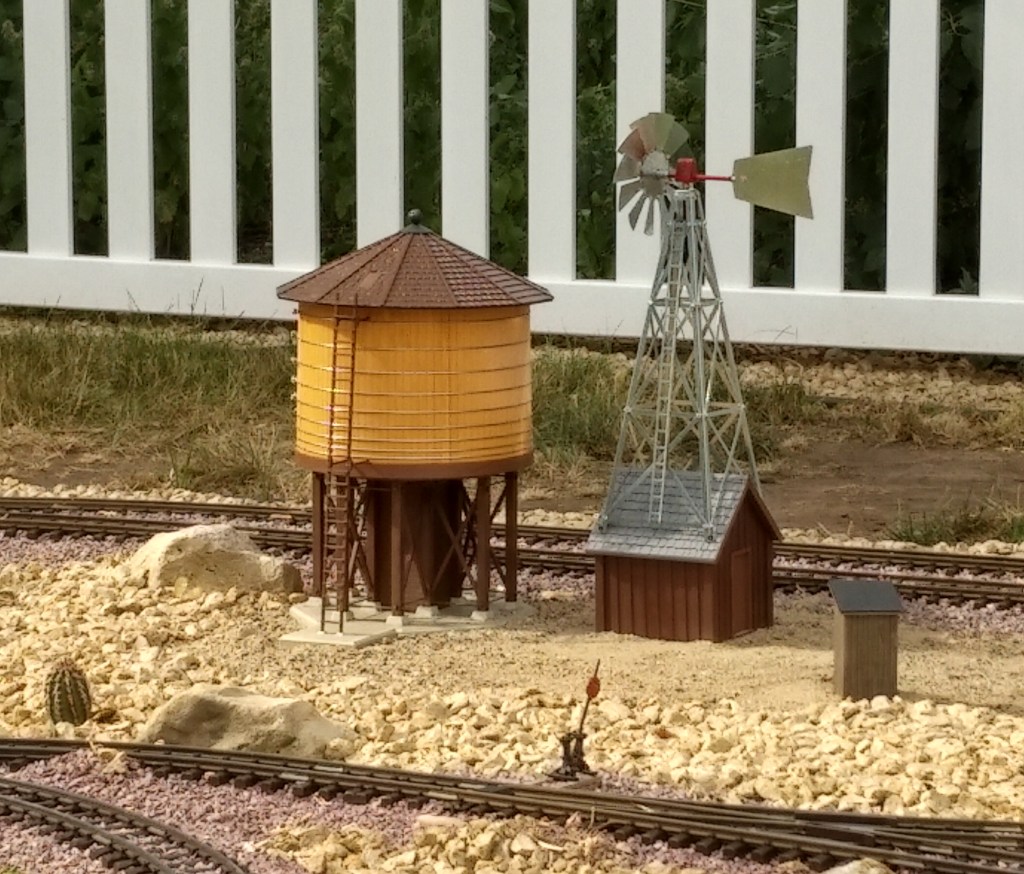
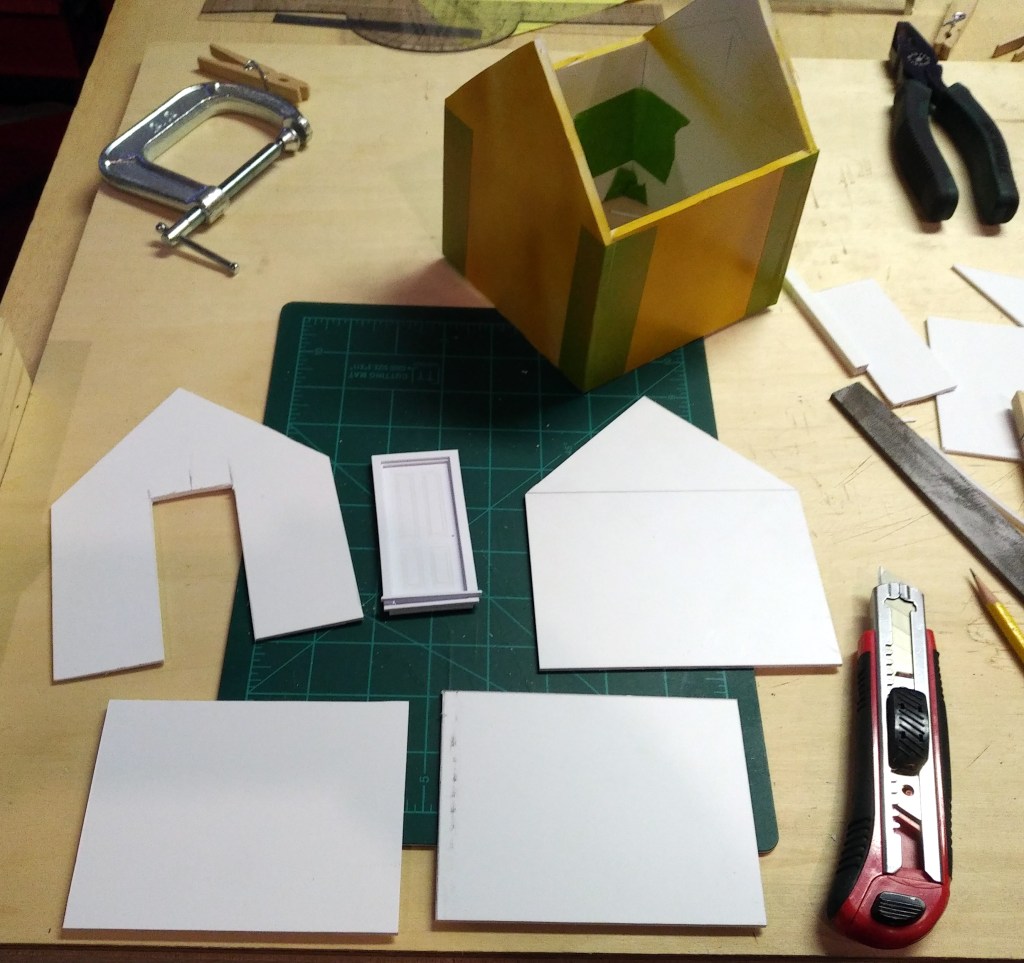
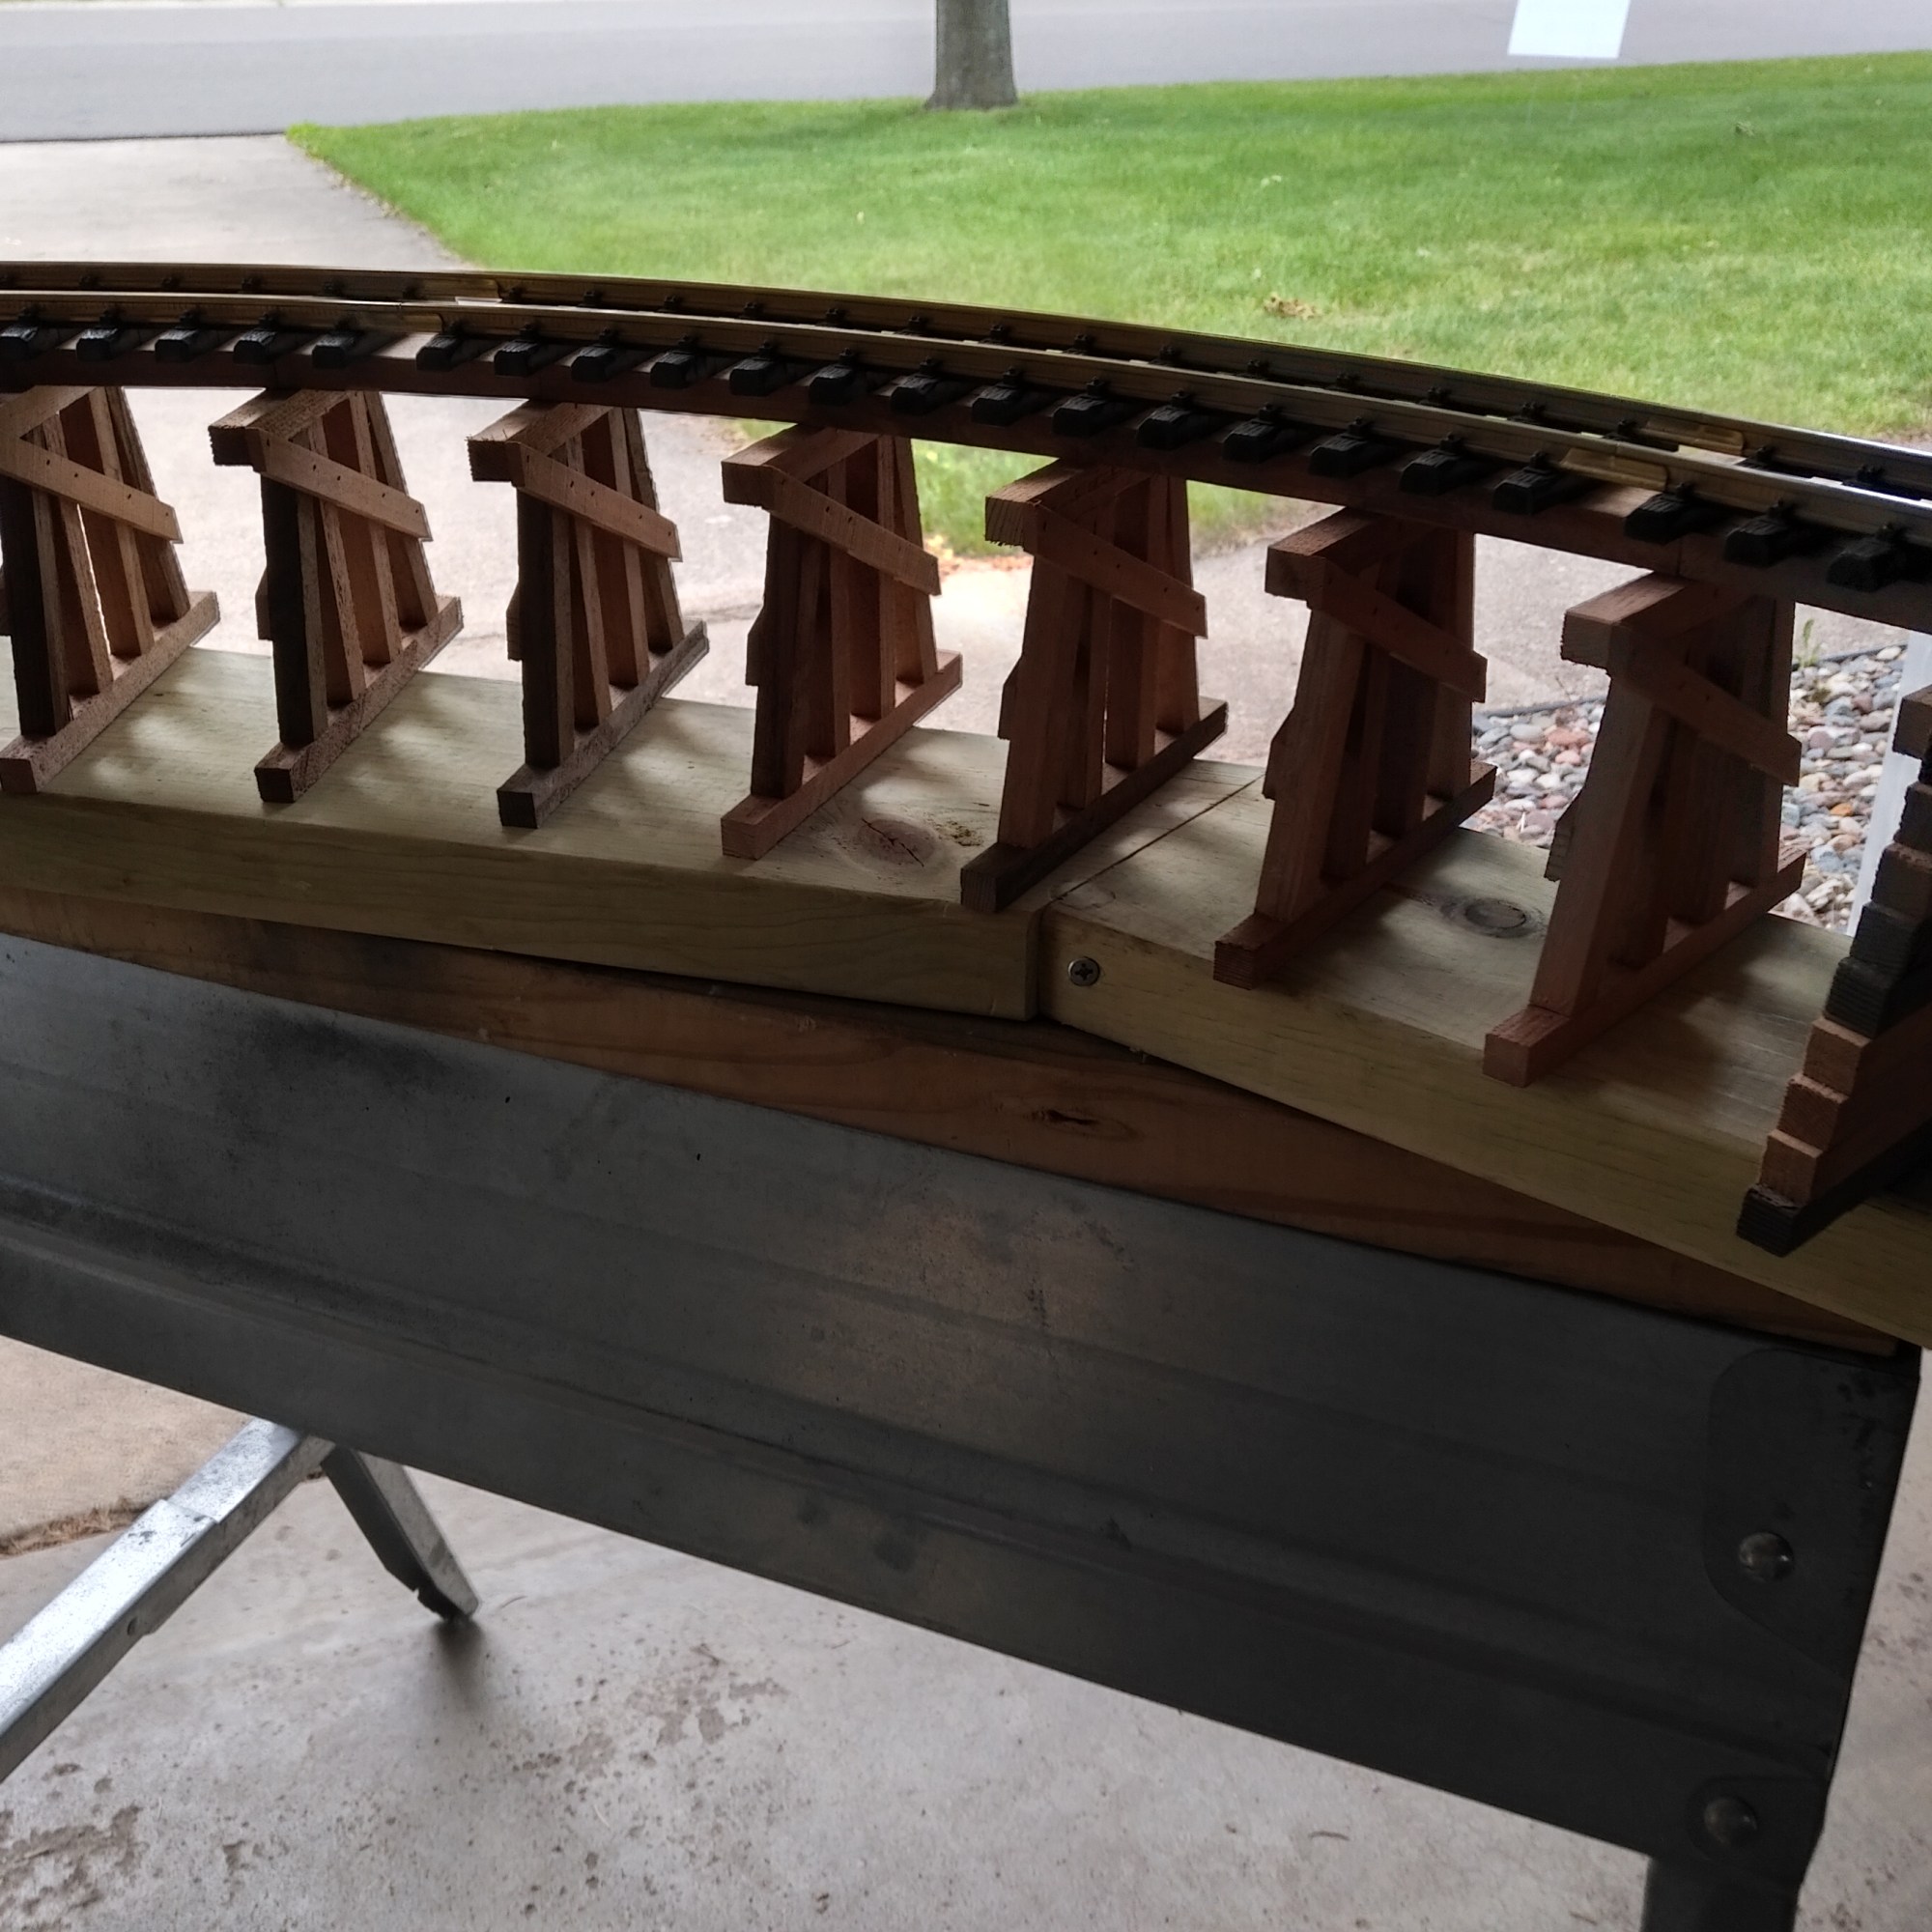
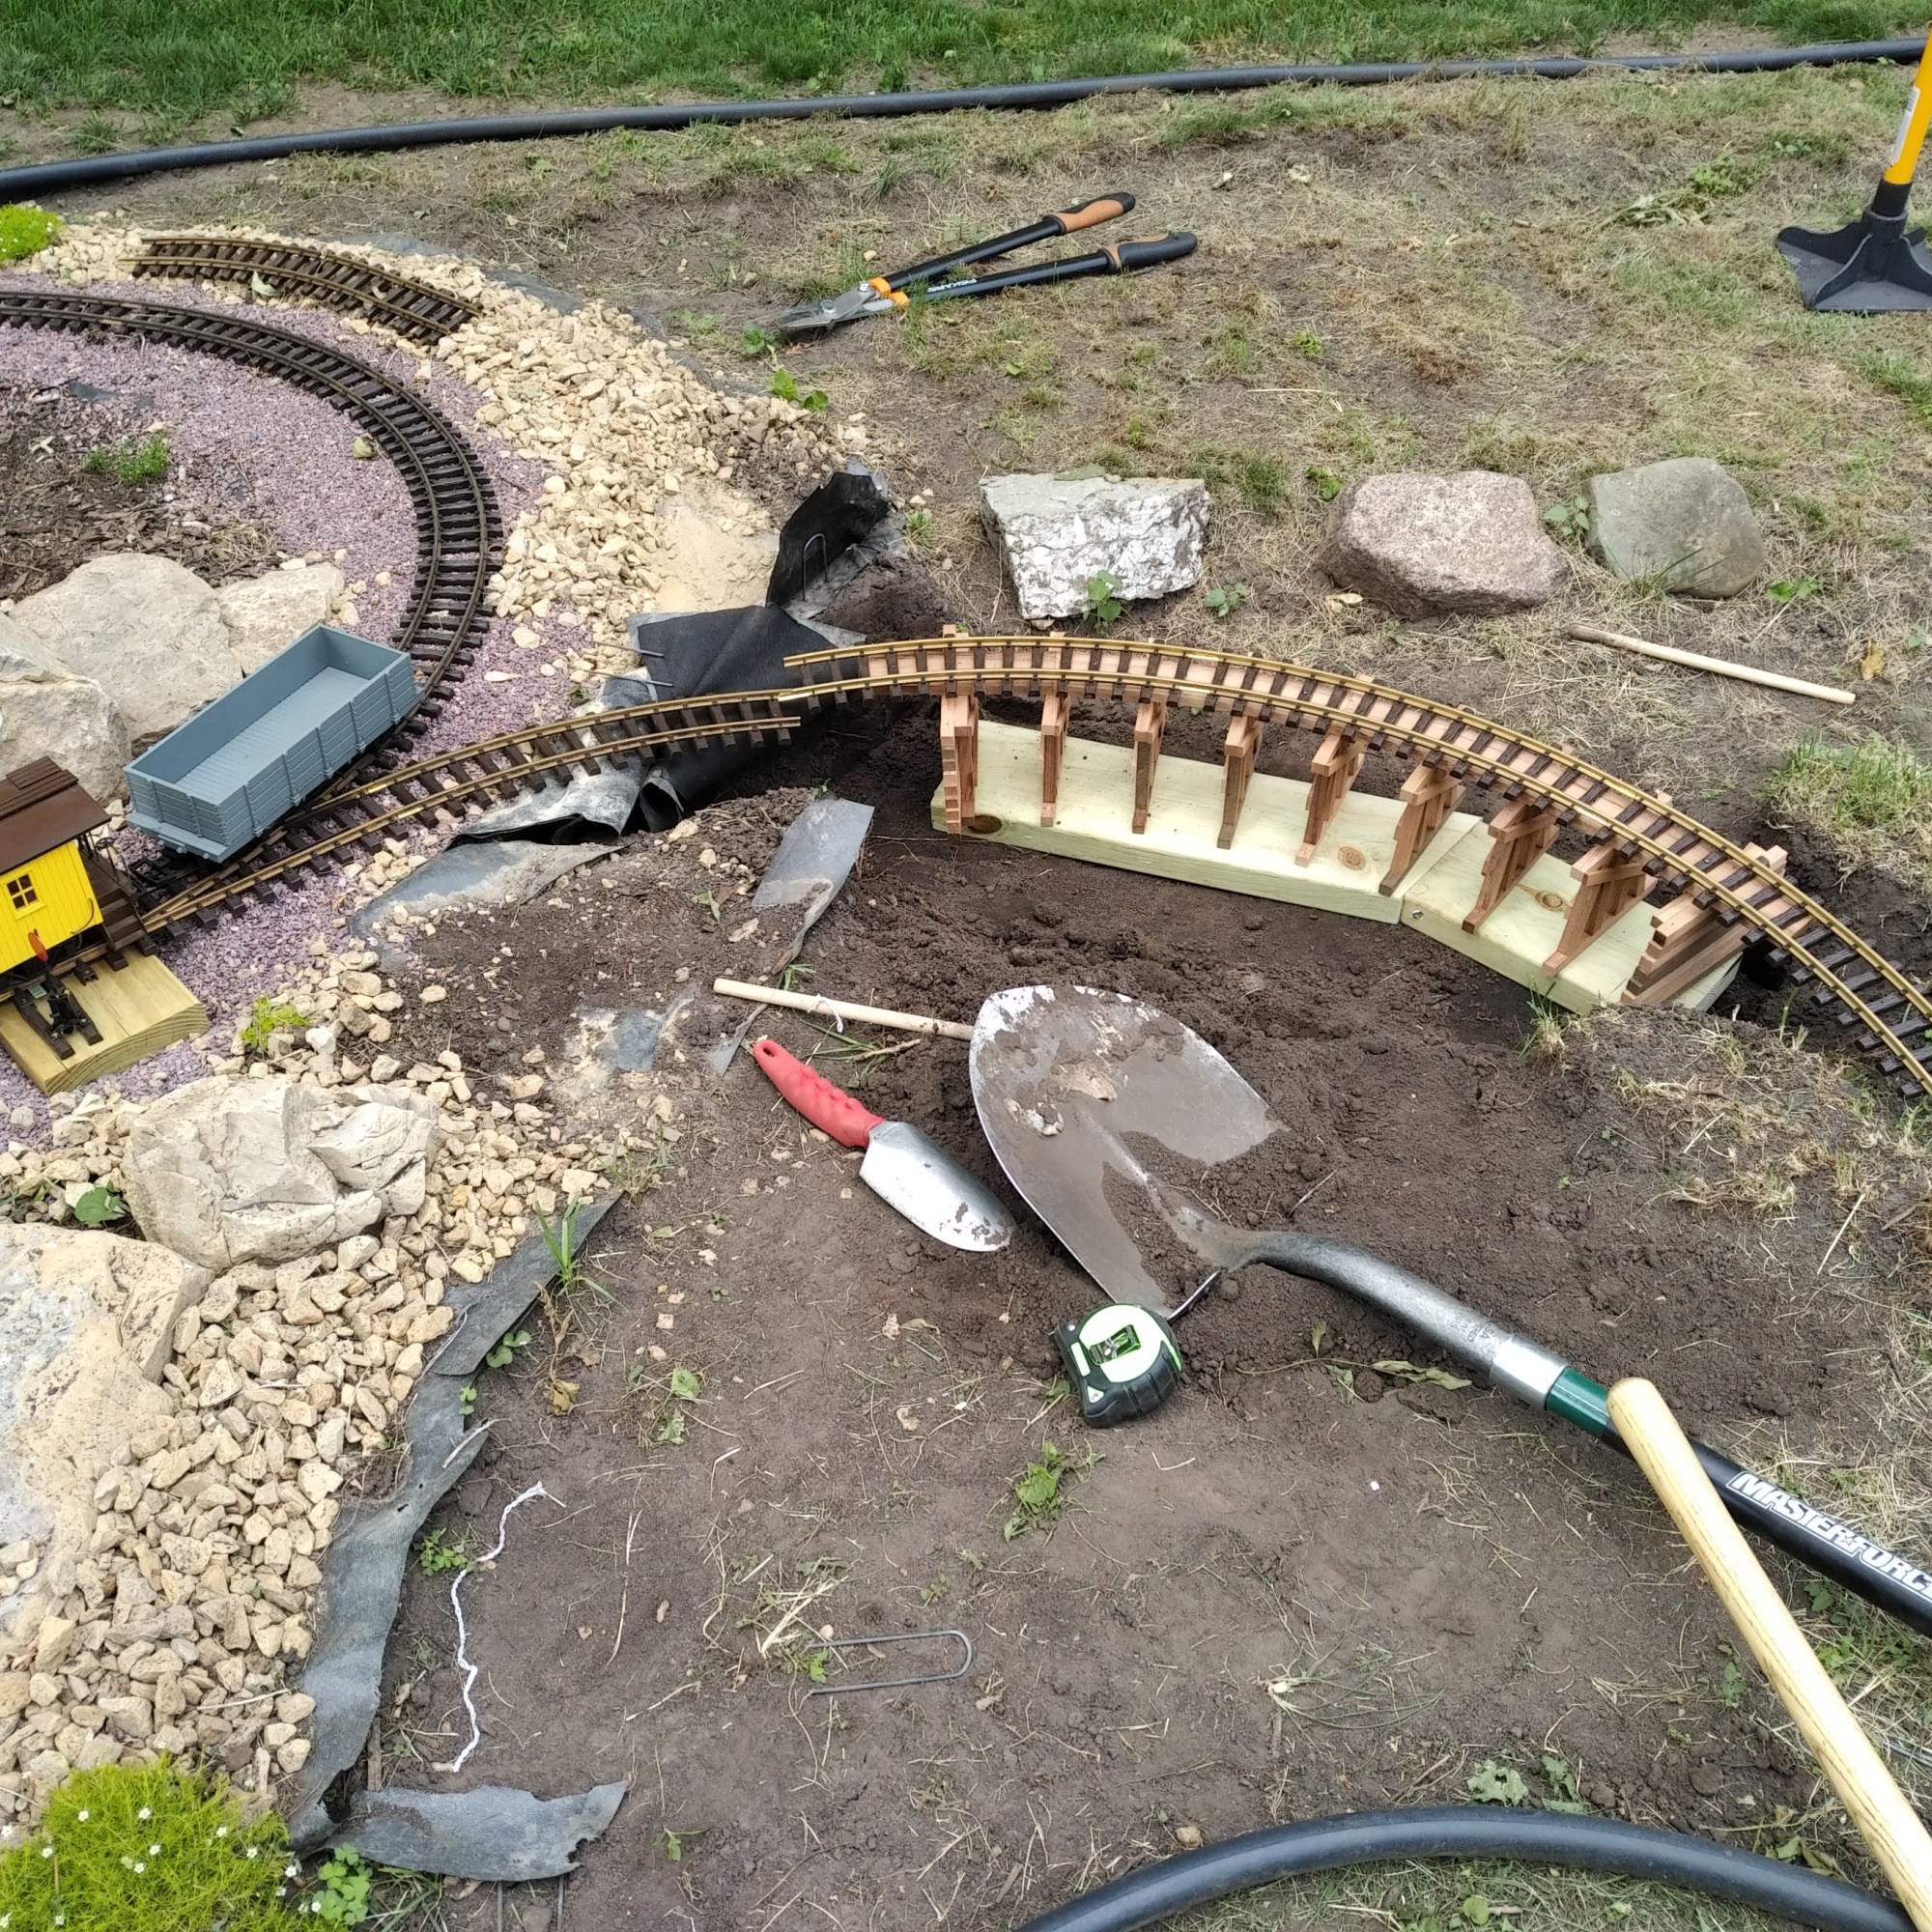
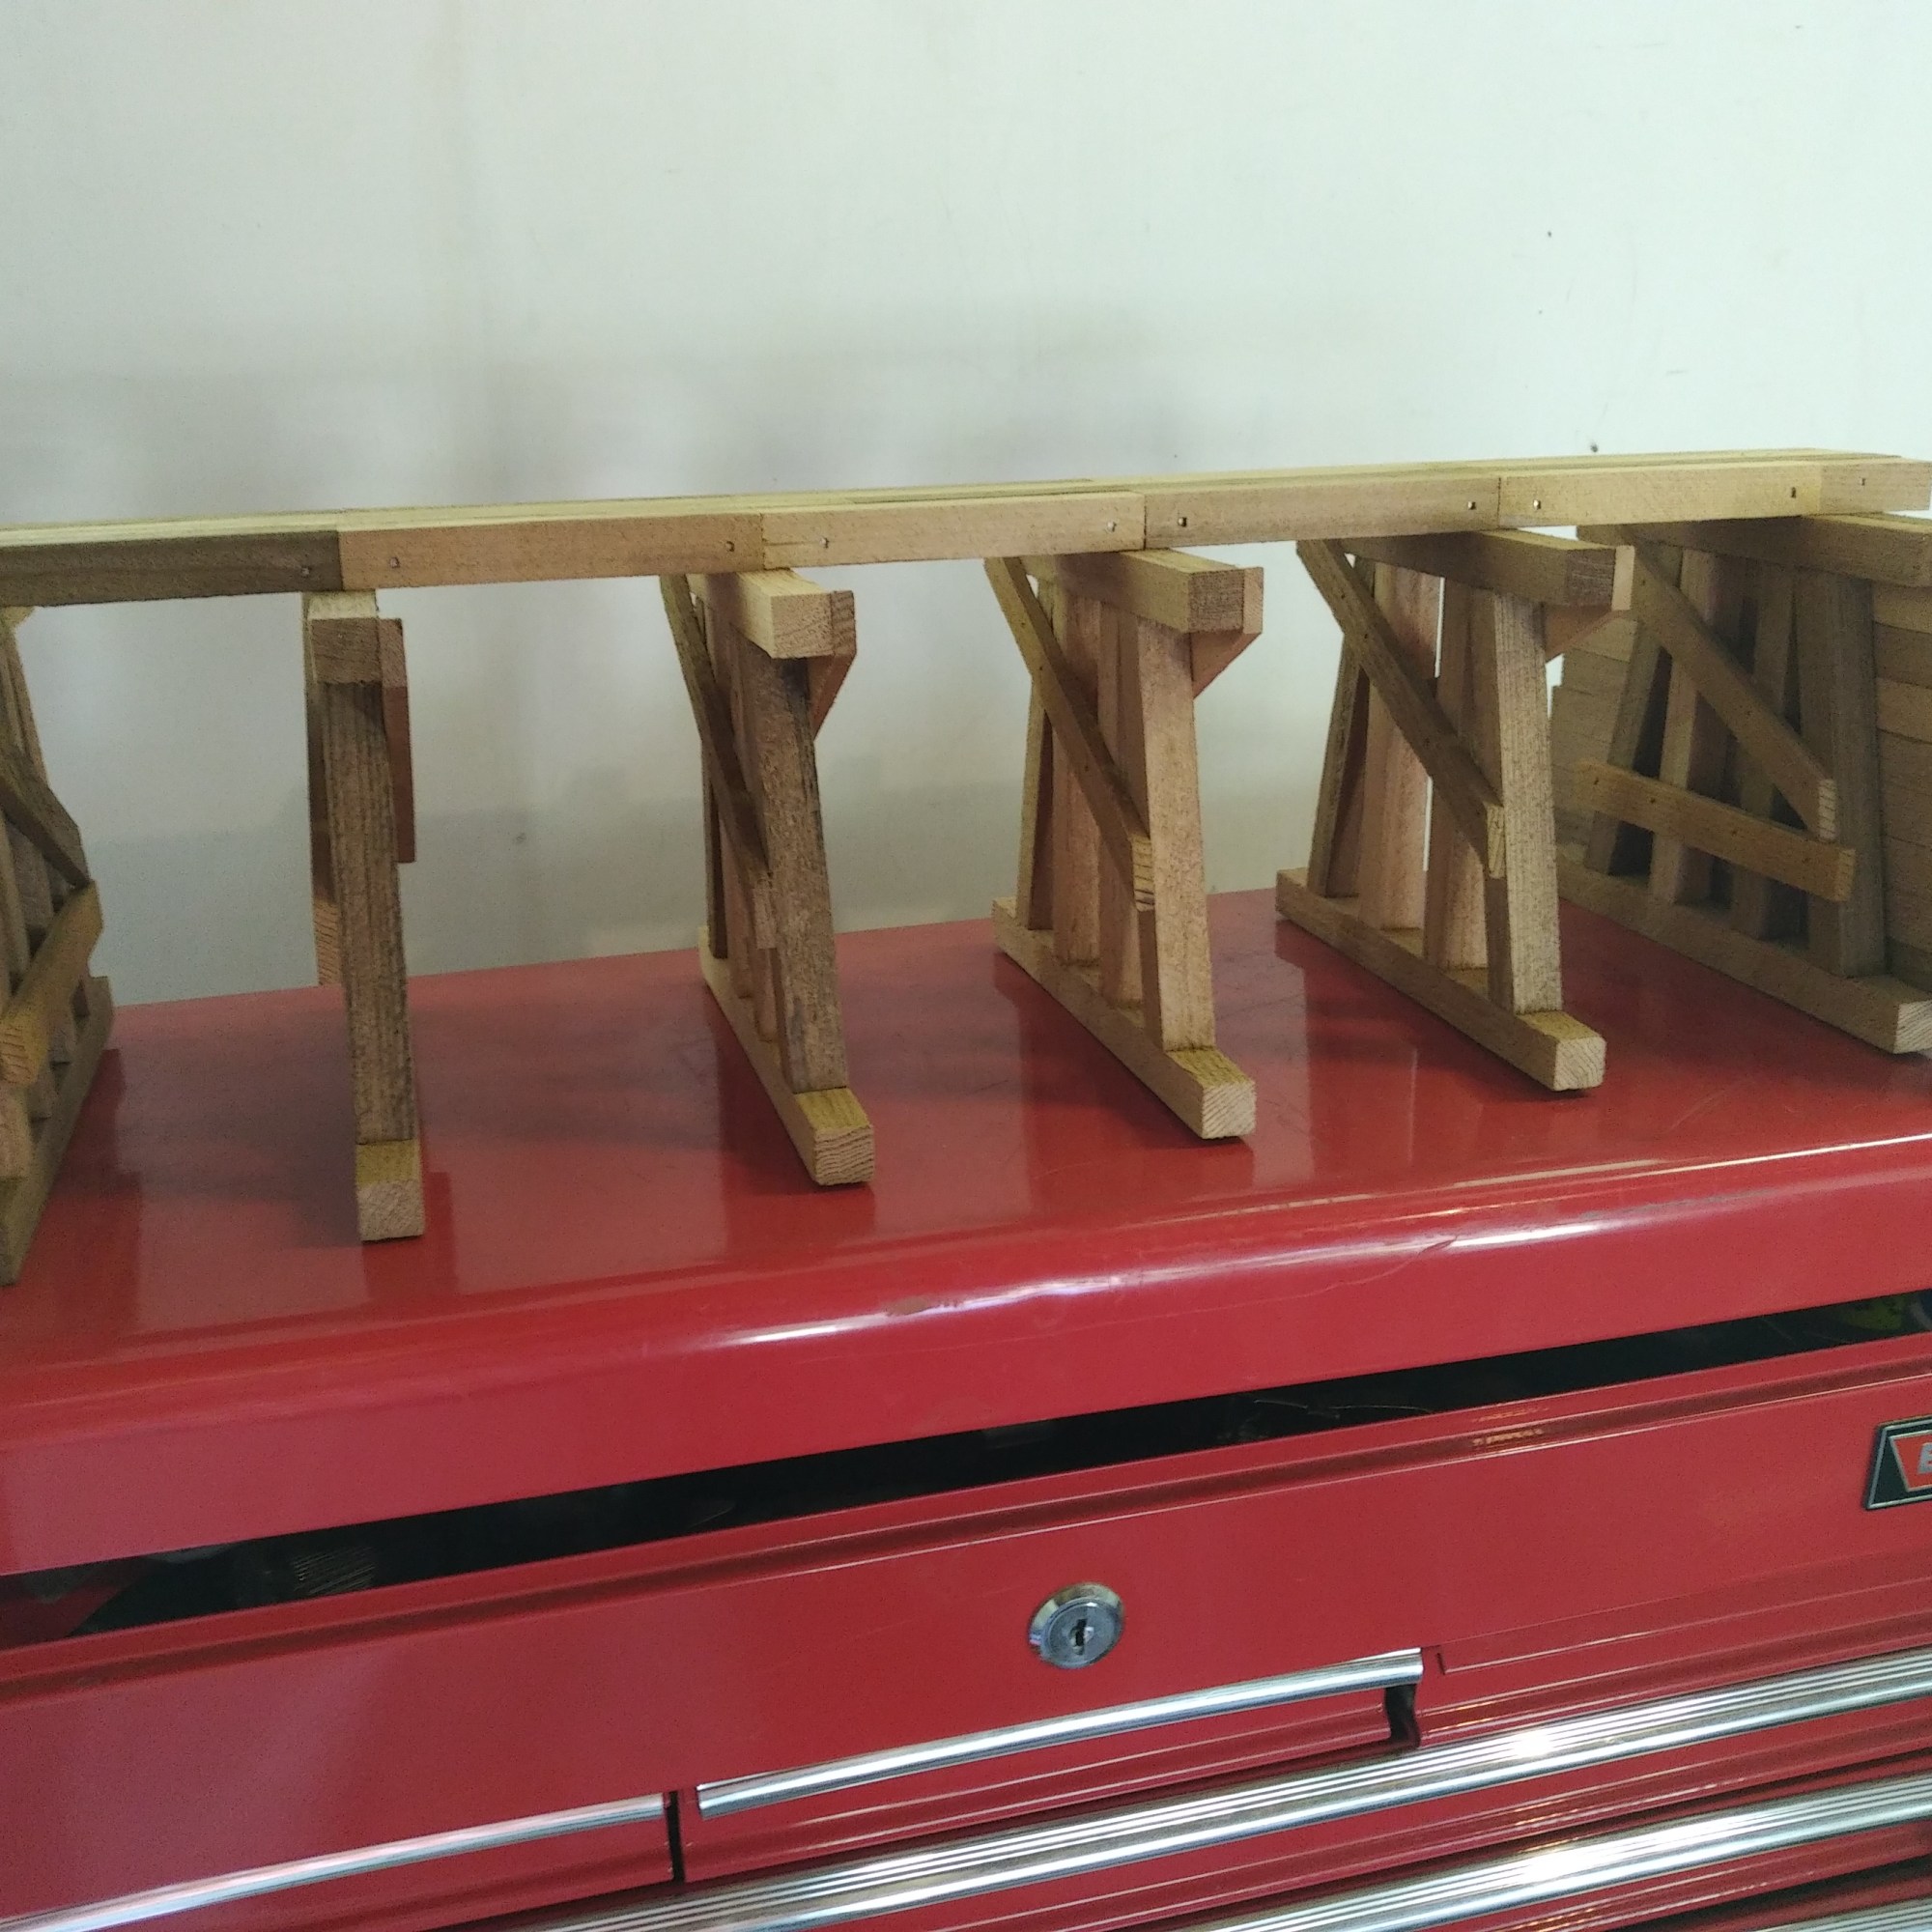
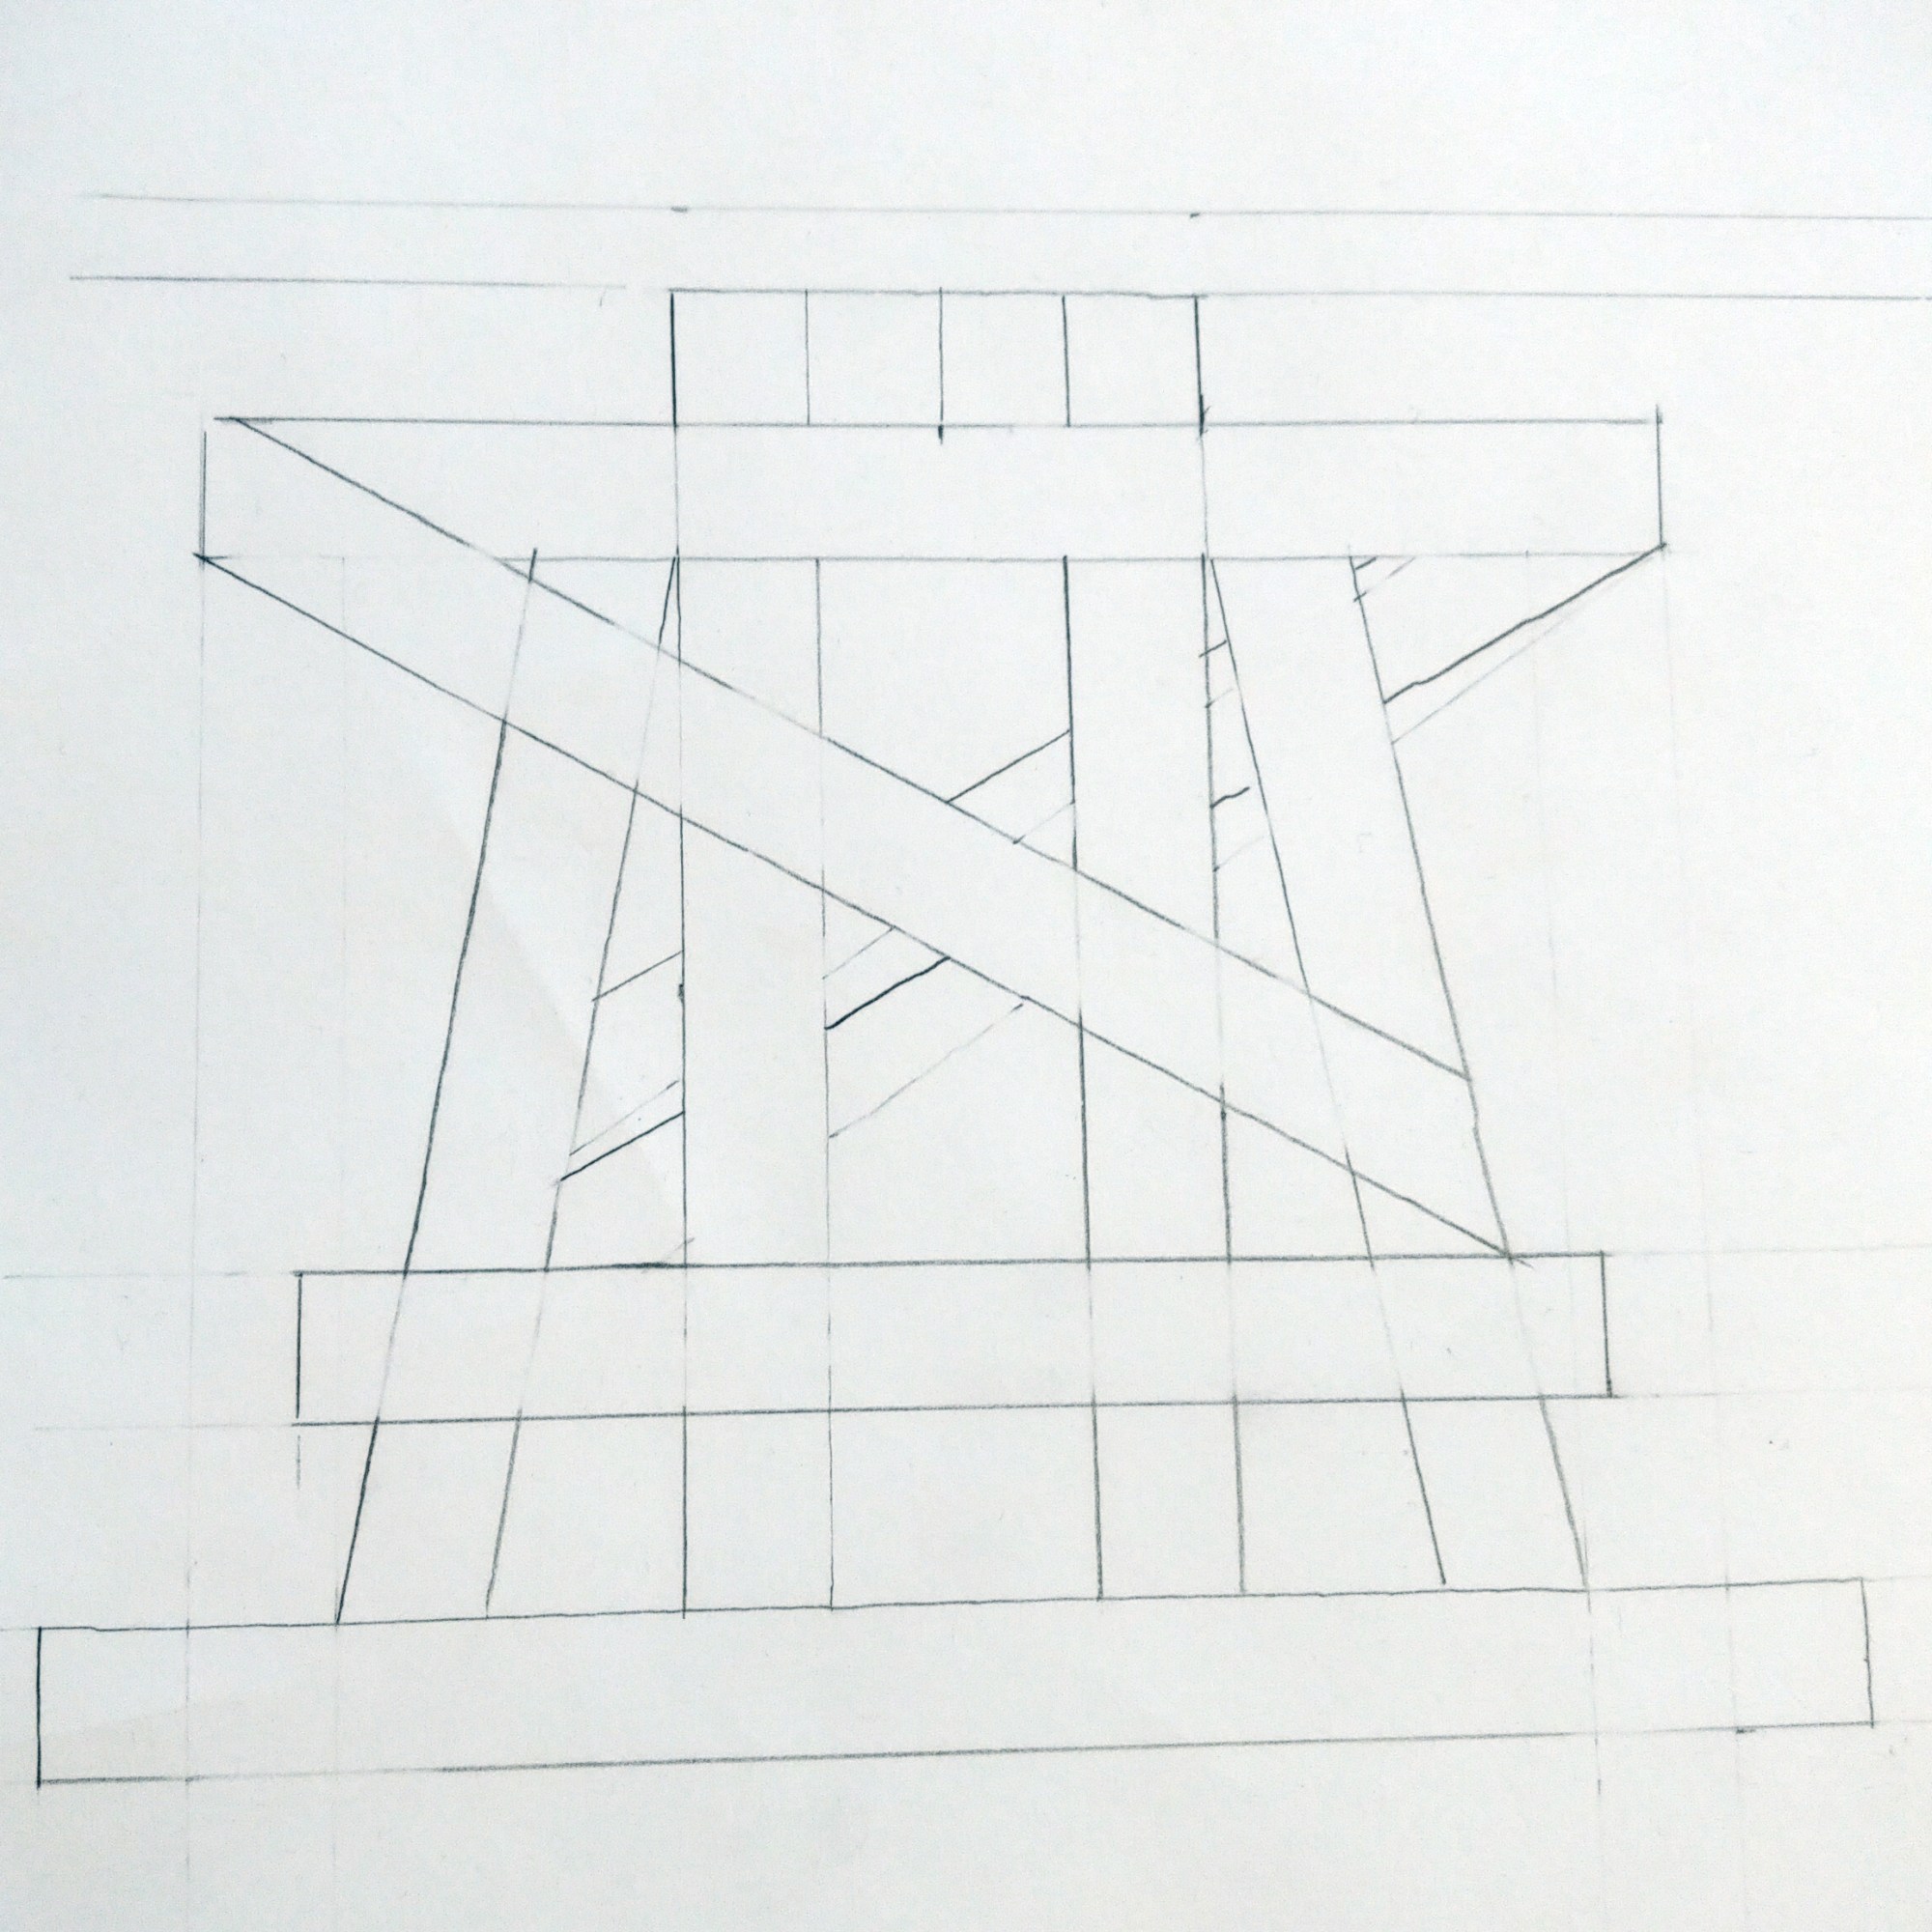
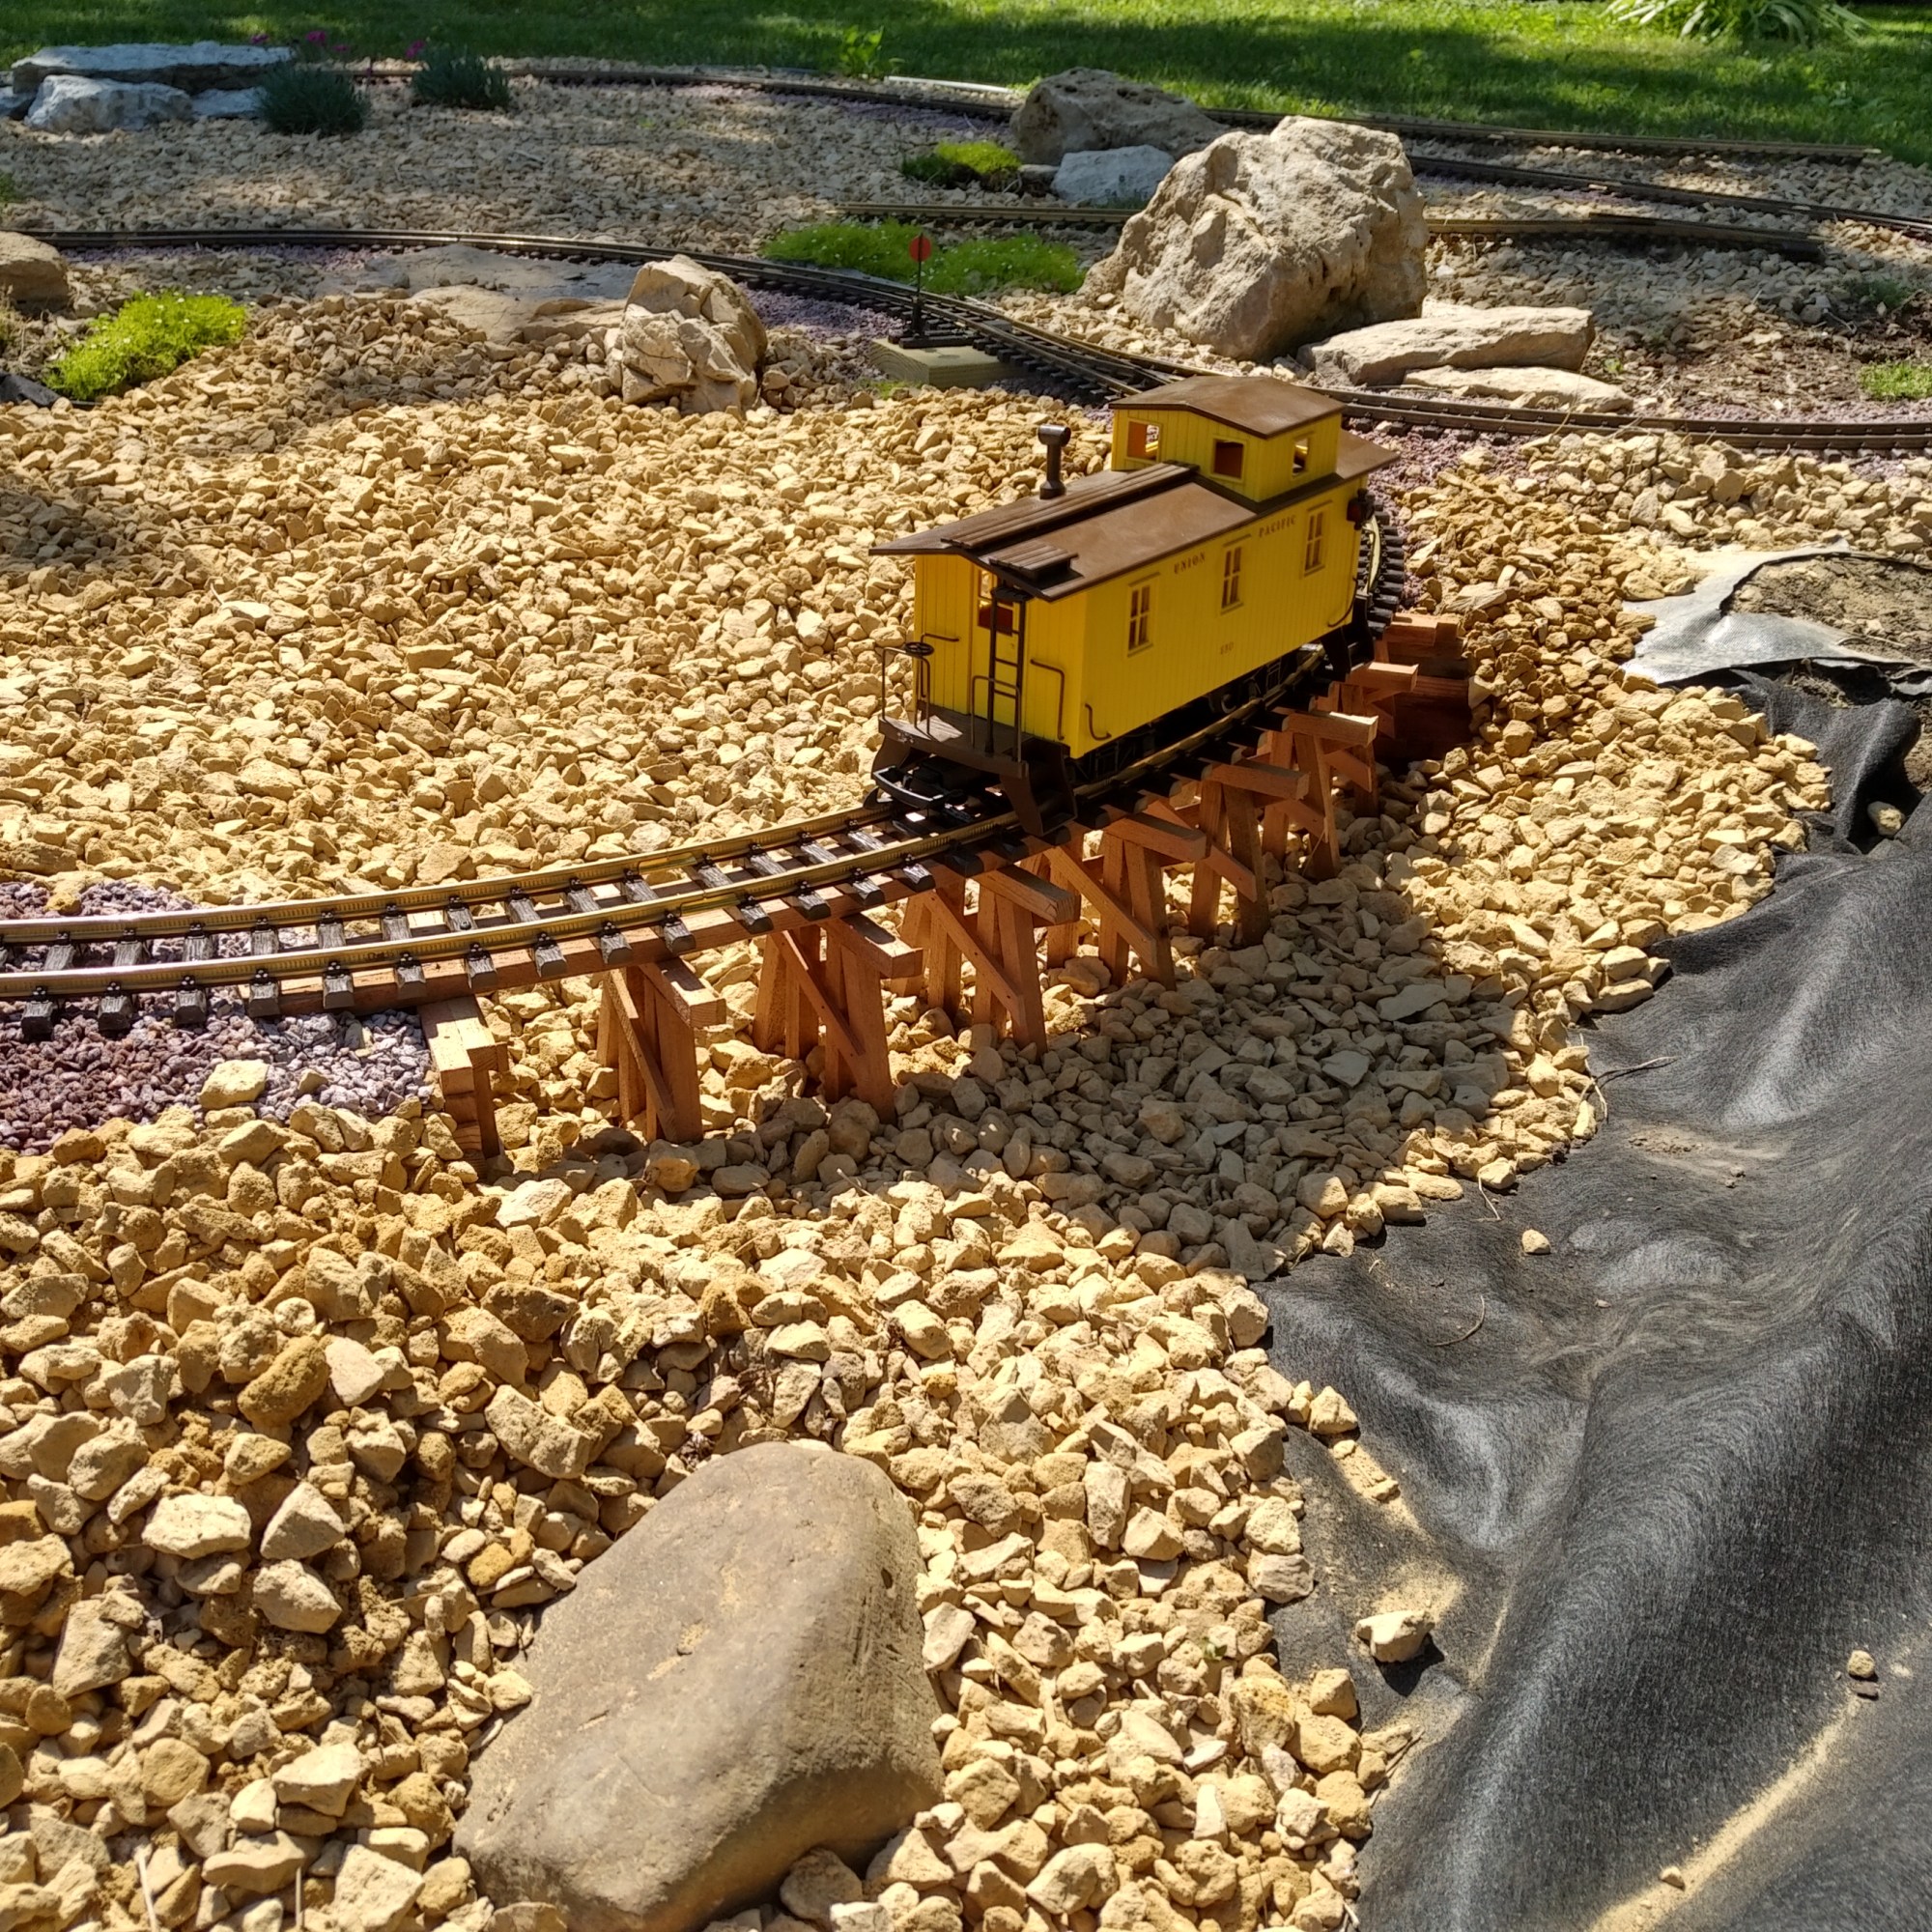
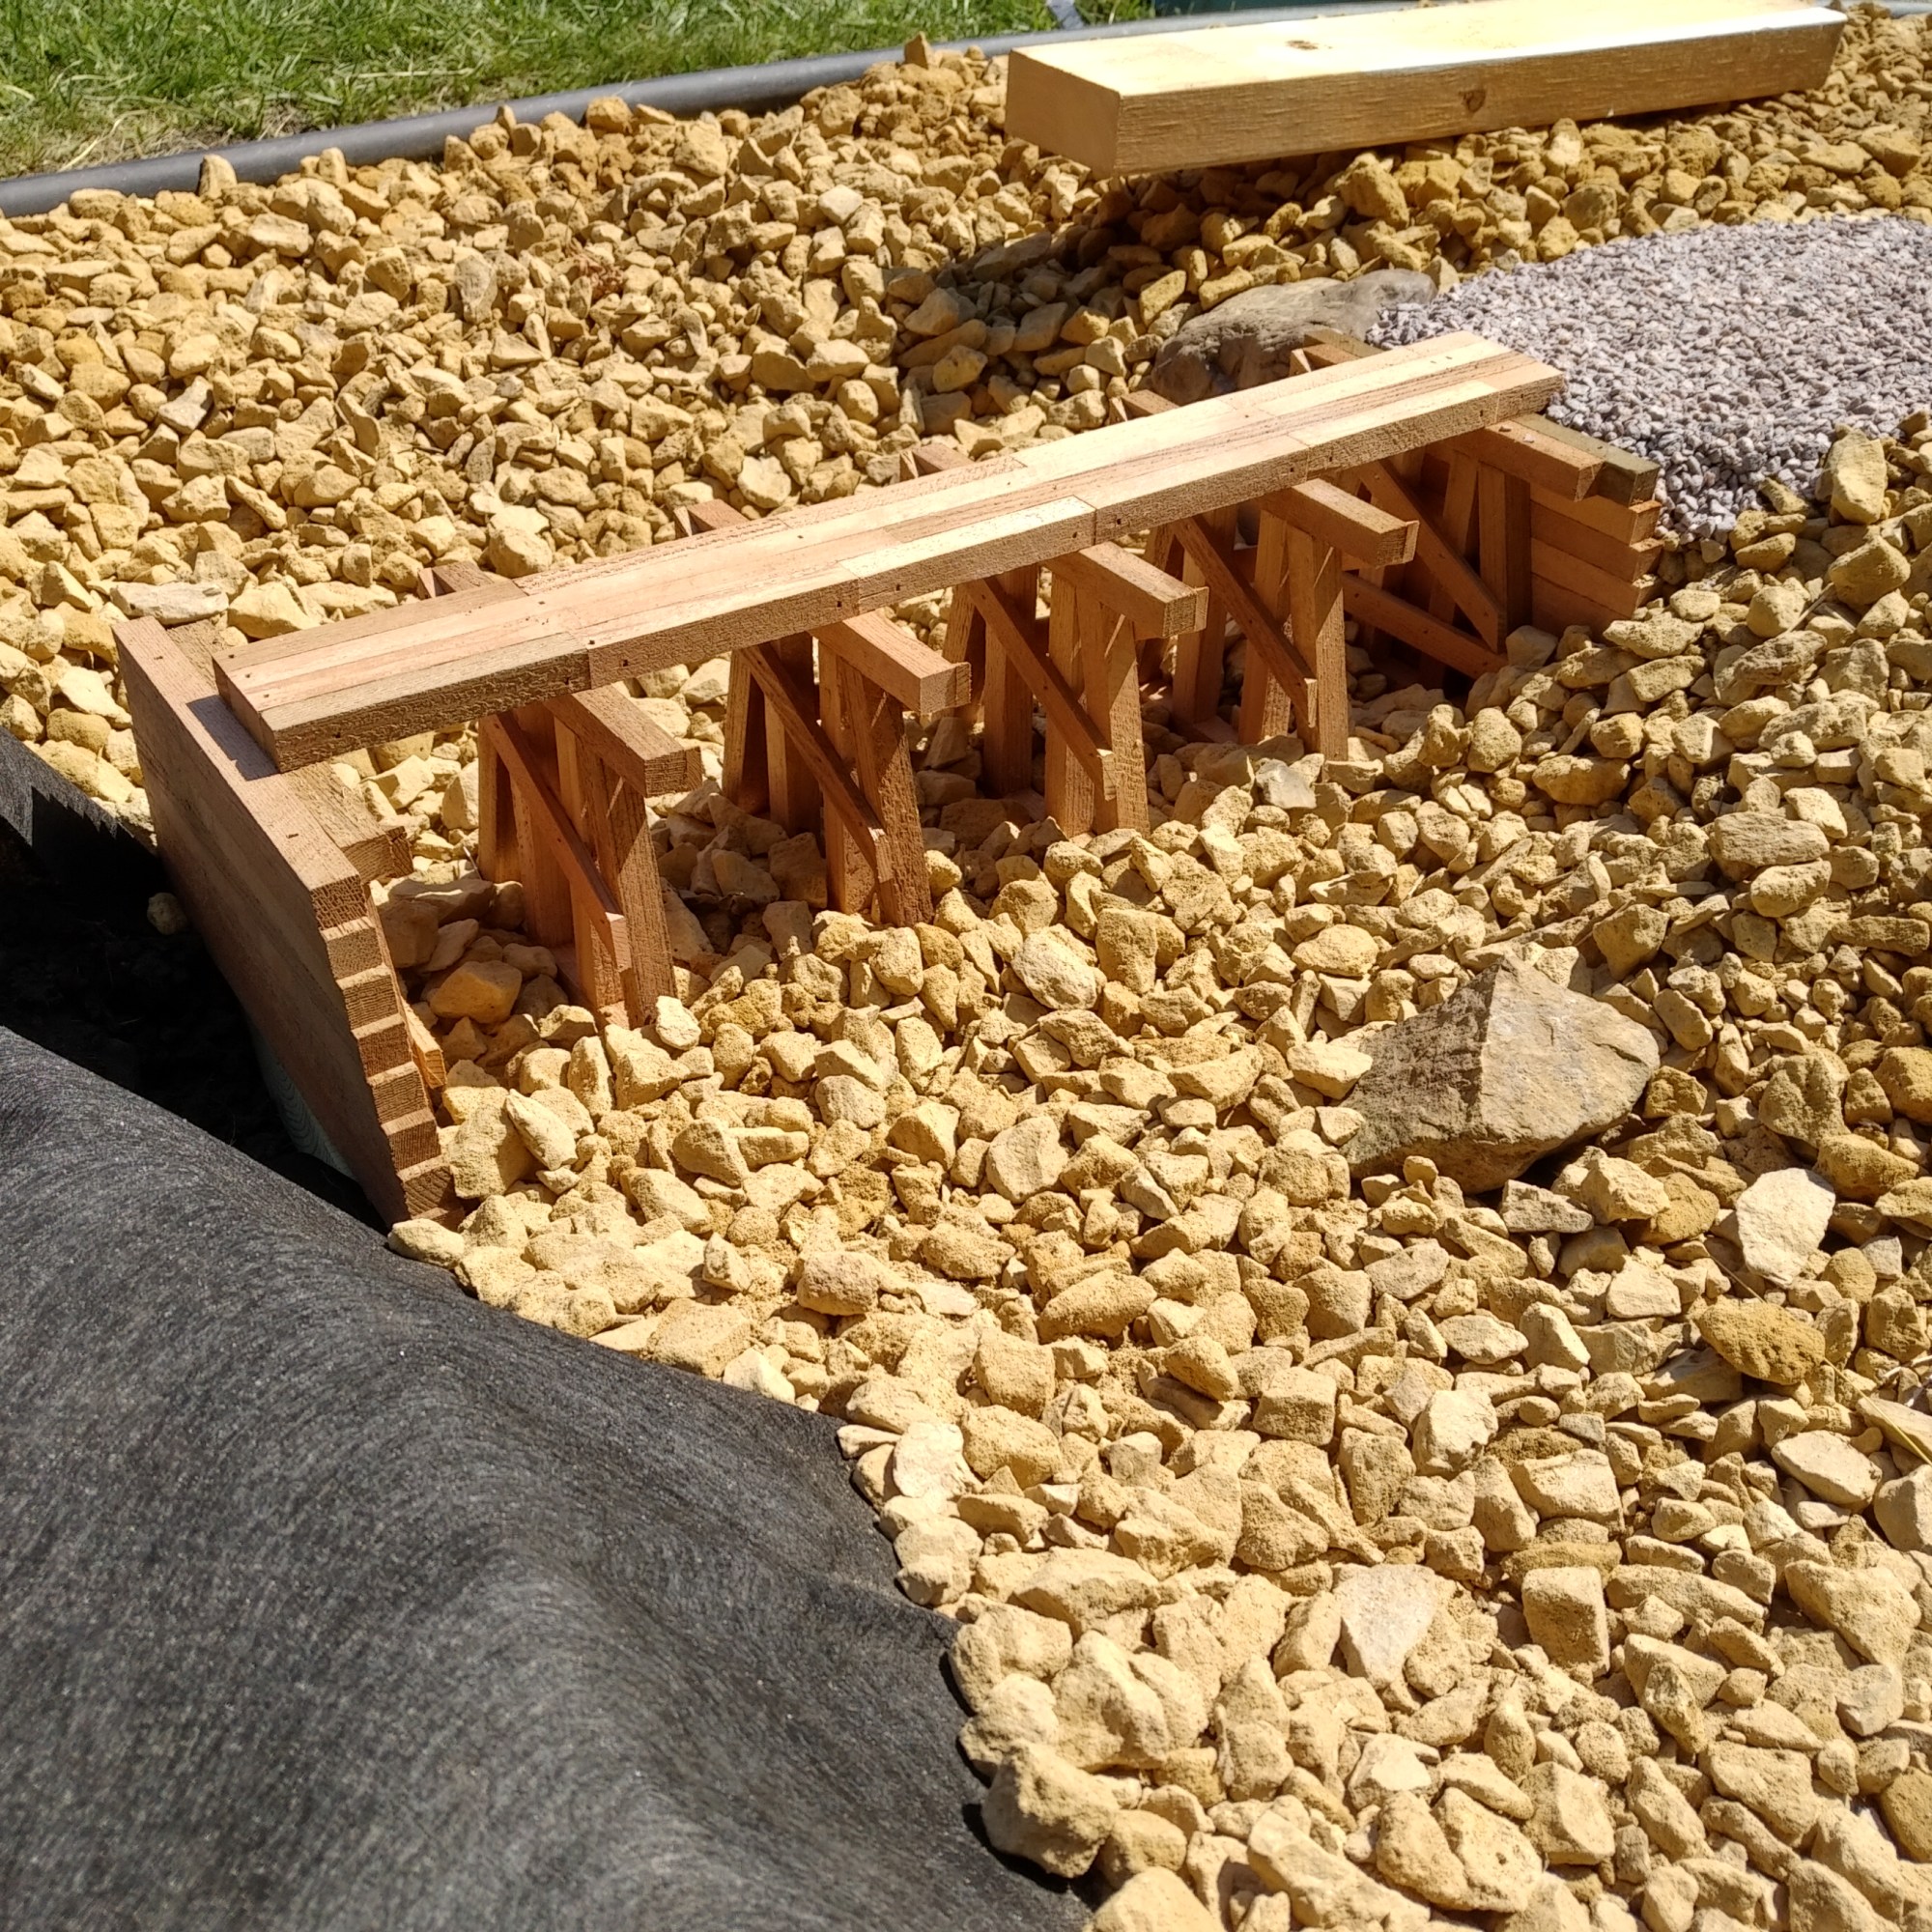
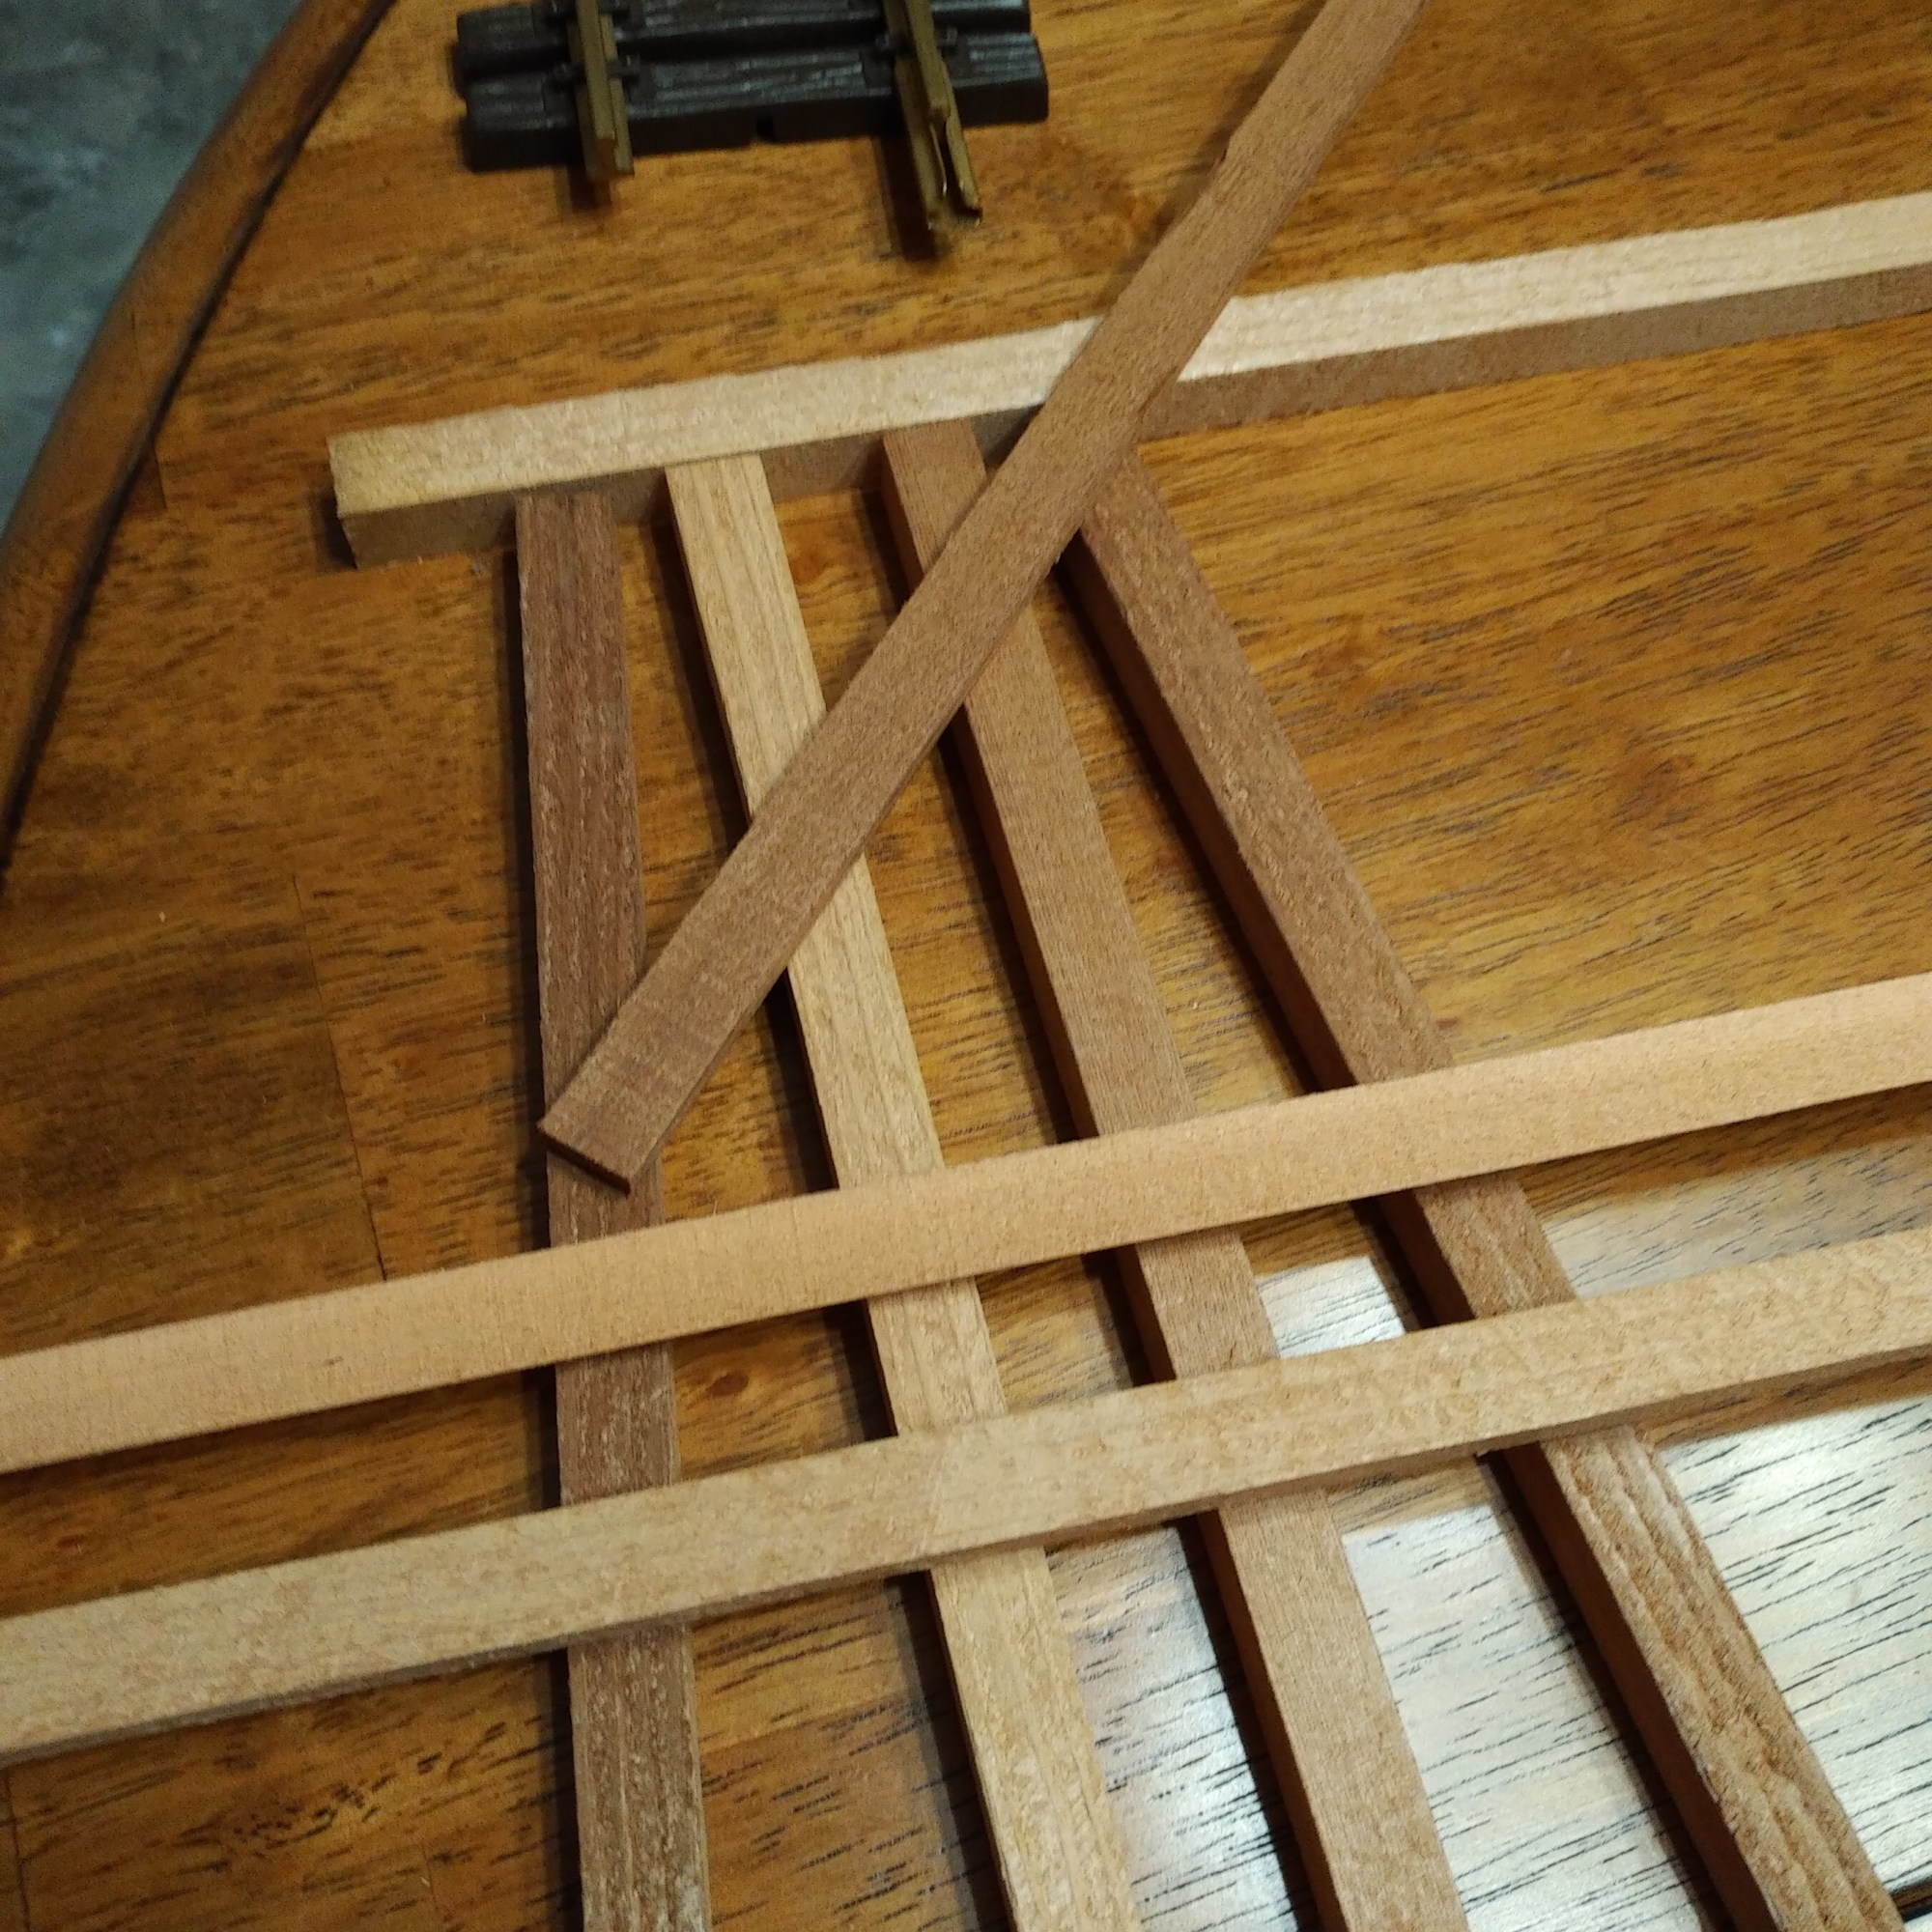
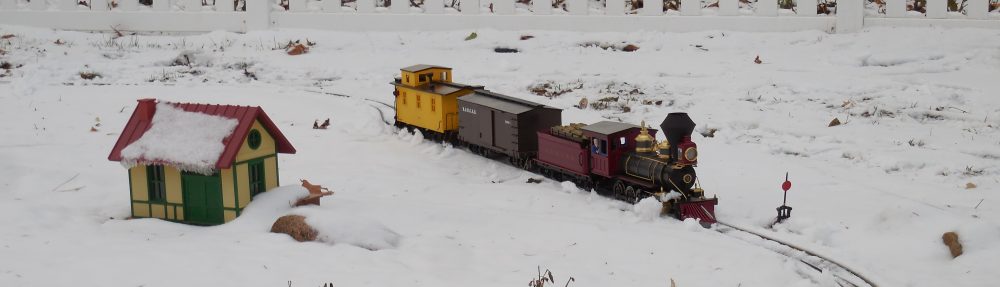
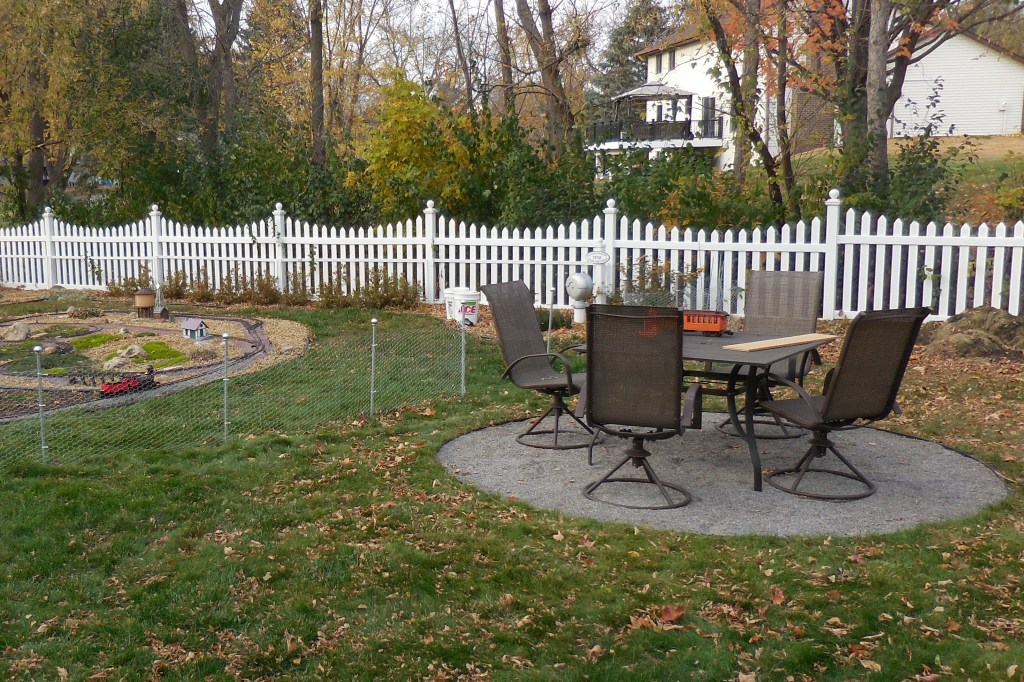
With the 2024 layout expansion being smaller than initially planned, I ended up with quite a bit of extra crushed rock – six garbage cans’ worth to be precise. So rather than let it sit there taking up space, I figured I’d install a little seating area to hold a little patio set we were gifted this summer. It was a pretty easy one-day project, and already just having both seating nearby and a table to set things on, has been very convenient. With that project out of the way, I set about replacing my existing rabbit fence. For the new fence I used the posts from a no-dig fencing system Menards stocks, and spray painted most of the post silver to blend in a bit better. Just pound the base flush into the ground and insert the post; fence is held on via loosely tightened zip ties so the post can be slid off. Now I can remove the fence easily for lawn work or when folks come over. I can just pull the posts out, roll up the fence, and drop some little plugs I made from a dowel and some fender washers into the opening to keep things clean without creating a trip hazard. On each end I set up a couple of sections separate from the rest and simply attached to the other fence sections with clips to make access easy. With all that out of the way, I broke out the old Bob Ross and gave the reballasted layout a good breaking in with the first full run over the new bridge and section.

Backdated Delton Cab Roof

Backdating the cab on my Delton C16 was one of my first real modeling projects and, surprisingly, it was one that turned out great without too much difficulty – and that’s coming from someone who was a bit of a failure at successfully modifying HO and On30 models in the past.

As the images below show, I started out by obtaining a Lionel G 0-6-0 cab roof off eBay and then proceeded to cutting, filing, and sanding the bottom until flat; but when I was finished, it just didn’t seem thick enough, so I added some sheet styrene I cut down to size and then sanded and puttied to create a seamless match.

My initial thought was that I would trim the Delton cab’s roof into a straight angled shape, lining things up so the new roof would be the same height in the center as the original arched roof using a guide. Alas, it didn’t turn out too well, so instead I created two small frames I glued to the interior of the cab to hold the roof in the right place and cut and sanded to ensure the new roof would clear the original cab cleanly.

Next, I simply used some styrene to wrap the edge of the roof to give it a clean line. While far from perfect, with the judicious use of the file on some remaining exposed cast on trim from the original cab, the end product turned out pretty good; and all in all, it’s a project I’m likely to try again in the future on another project locomotive.

Building the Windmill Pumphouse

I decided to design my own pumphouse to support my windmill using some styrene I had on hand, part of a Piko shingle roof, and a door from Stoneworks.  I think it turned out pretty well for my first custom building. 

The exterior is simply a thicker sheet of styrene with battens of thinner styrene glued and plastic welded over the top.  I assembled the door first and used that to create a mockup using poster board to determine the size of the structure.  The roof I just snipped out of the larger Piko shingle roof on my miter saw, covering the peak with some 45-degree styrene corners that came with some other items I ordered from Stoneworks.

Although I didn’t get a picture, I used blocks of 3/4” PVC board to create a solid core that I glued the roof onto.  That separate solid core slides down into the exterior frame, and then silicone to help hold it together.  A hidden solid base underneath unifies it all, with screws inserted behind the removable door and up from the bottom.  To hopefully hold it in place in high winds, I added strapping to the bottom and pounded a large spike into the ground on each side.  We’ll see how well it holds up.  My hope was to be able to create a solid structure that I could dissemble when the time comes to repaint it or if I should choose to add further details.

Building Simple Trestles

For the railway I ended up needing two trestles to cross a dry wash, and figured I’d build them myself using some redwood strips I was able to buy on eBay. The actual process was pretty simple, I laid the strips out on the coffee table and adjusted them until they looked good visually. With both trestles the same height, all I’d need to do was to build enough bents for both.

After figuring out how they should look, I simply drew out a scale plan on a sheet of paper and made several copies. Then I just taped the plans down on the workbench under some wax paper and proceeded to cut all the pieces to length. Once I had everything laid out, I simply glued and nailed them together (using an air nailer and a standard outdoor wood glue).

For the trestle decks, I decided to keep them solid, and just glued and nailed four of the strips together. With the straight trestle, assembly was easy. For the curved trestle I had to plot out where each bent would go and then draw out the deck so that I could cut each short section at an angle to match the curve as best as possible while coming together in the middle of each bent. While it took a little trial and error, it worked out well.

Once the trestles were assembled, I used some more of the strips to build some abutments, and then I attached each completed trestle to a piece of green-treated lumber to support it evenly. Then it was just a matter of leveling the ground to get it down to track level and then covering the green-treated board with landscape rock to hide it.

All in all, it was a fairly simple project that’s stood up to the elements, and the rabbits, very well.